

How Can I Change Which Cisco Ucm Servrr A Device Registers With
Contents
- 1 Introduction
- 2 Steps:
- 3 Detailed Steps
- iii.i Setup the Service
- 3.2 Create the user
- three.iii Create the phone template
- 3.4 Install the software on the CUACA server (window 2012)
- three.4.1 Install IIS
- 3.4.2 Install the software
- 3.five Configure the CUACA Server
- 3.6 Configure Operator Queues
- 3.6.one Configure CTI Devices
- iii.7 Configure Directory Synchronization
- 3.8 Setup Operator Queues
- three.nine Set up Operators
- 3.x Synchronize with Cisco Unified Communications Manager
- iii.11 Install client console software on an operator figurer
Introduction [ ]
This article details the steps necessary to set and integrate a Cisco Unified Attendant Console Advanced Server with a CUCM Cluster.
Note: in this article, we will ready the connection to the publisher, this is confronting the recommendations that cisco provides because the CUCM server that the CUACA connects to the Cisco CTI Director service, Cisco recommends connecting the CUACA server(southward) to i of the subscriber servers.
Steps: [ ]
- Setup the Service
- Create the user
- Create the phone template
- Install the software on the CUACA server (window 2012)
- Configure the CUACA Server
- Configure Operator Queues
- Configure Directory Synchronization
- Setup Operator Queues
- Setup Operators
- Synchronize with Cisco Unified Communications Manager
- install client console software on an operator computer
- Examination the software
Detailed Steps [ ]
Setup the Service [ ]
Step i: Become to Cisco Unified Serviceability
Pace 2: Become to Tools > Service Activation
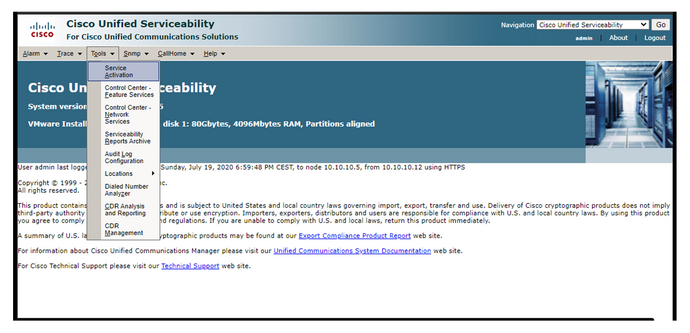
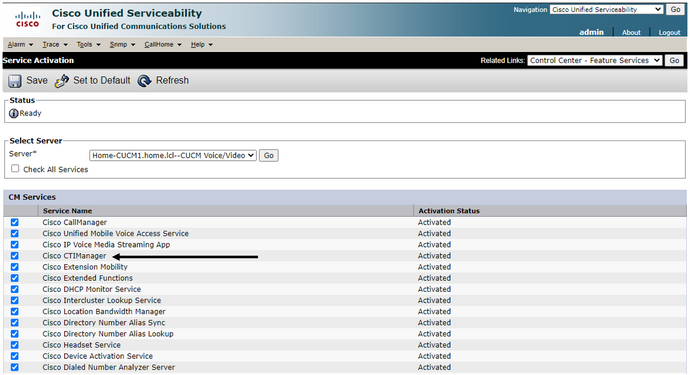
Stride iii: Ensure that the CTI manager Service is running
Create the user [ ]
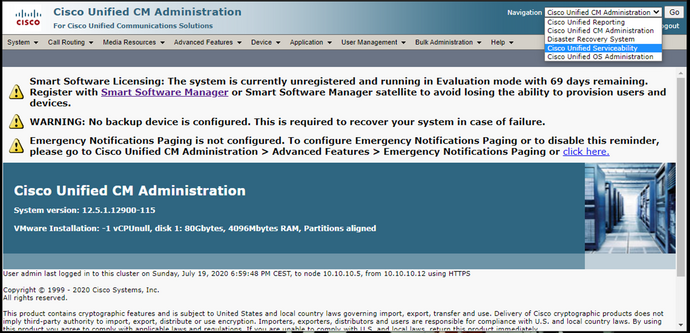
Step 1: Navigate back to Cisco Unified CM Administration

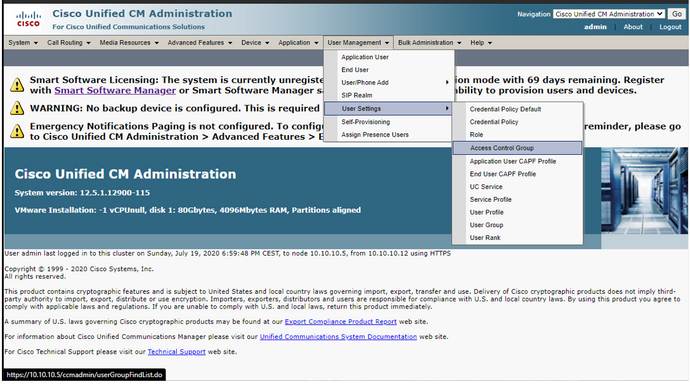
Step two: Get to User Management > User Settings > Access Control Group
Step three: In this new window click add new
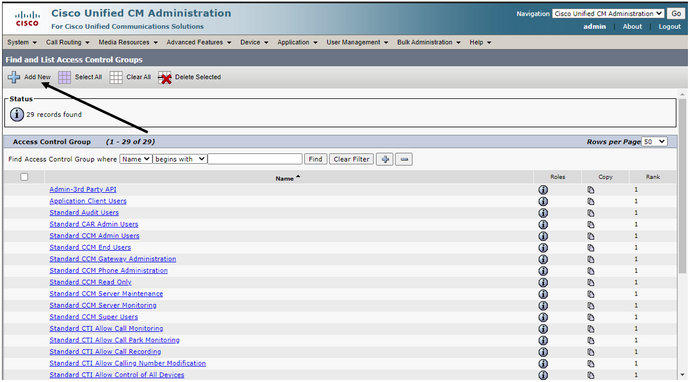
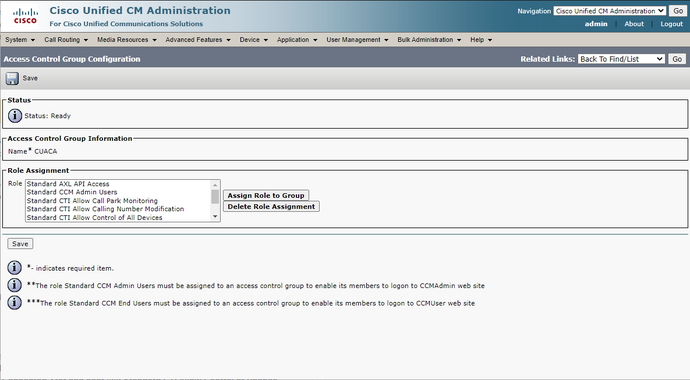
Step 4: Enter a username for the CUACA Admission Command Grouping and click Save | In this example, I used the name CUACA
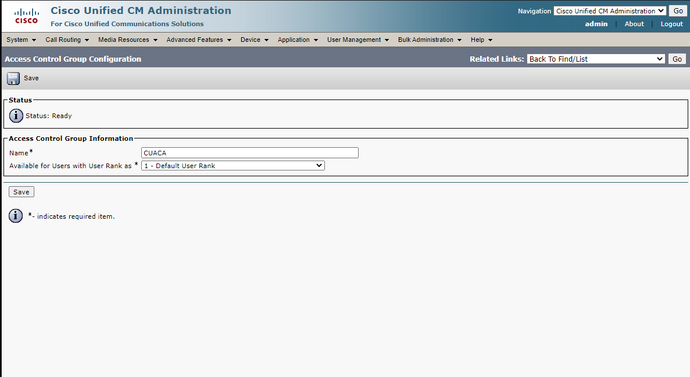
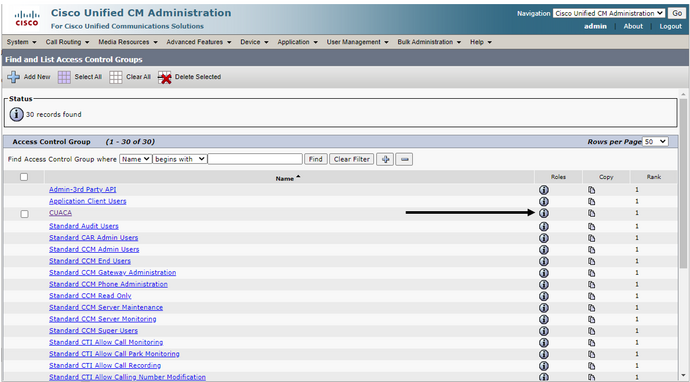
Step 5: In this new window click on salvage and the Become push button next to the Back to Find/List

Step six: Click on the "I" push under roles cavalcade in the row of the CUACA ACG
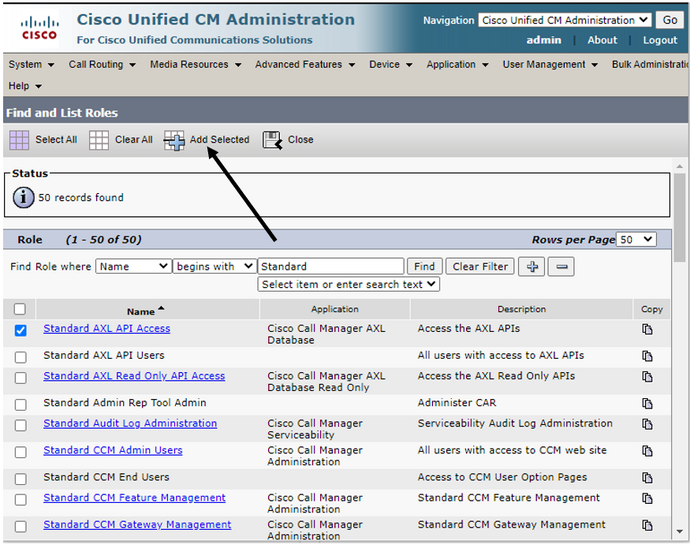
Step seven: In this window Click on the assign role to grouping push
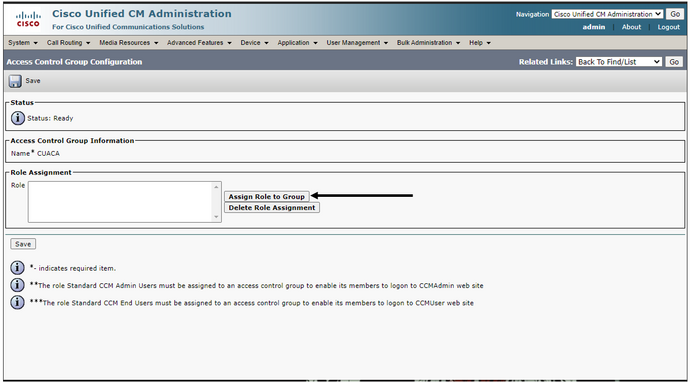
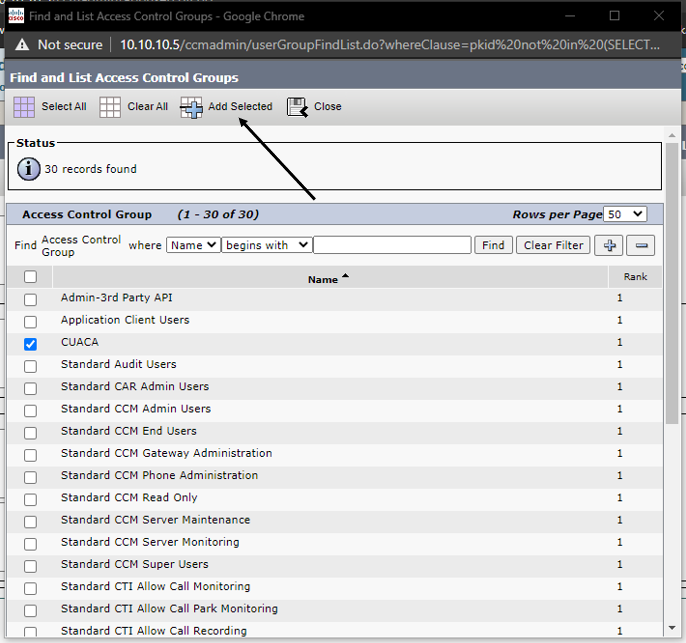
Pace 8: in this new window select the following groups and click Add together Selected
- Standard AXL API Access
- Standard SERVICEABILITY
- Standard CTI enabled
- Standard CCM Admin Users
- Standard CTI Allow Call Park Monitoring
- Standard CTI Allow Calling Number Modification
- Standard CTI Allow Reception of SRTP Central Fabric
- Standard CTI Allow Control of All Devices
Pace 9: When y'all return to the starting time window double-bank check the list and click relieve
Stride ten: Go to User management > Awarding User
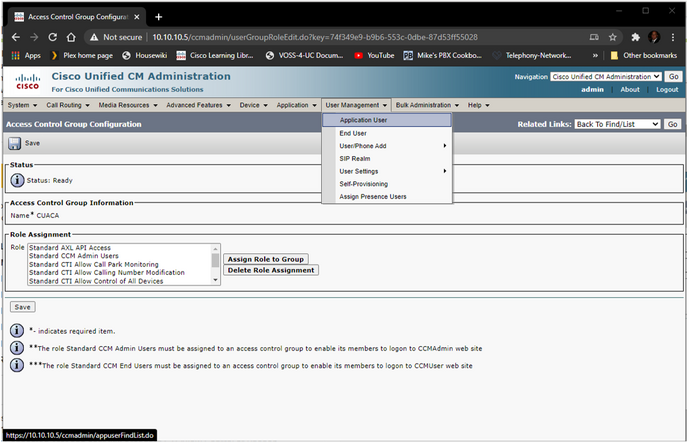
Step 11: In the Application User window click Add together new
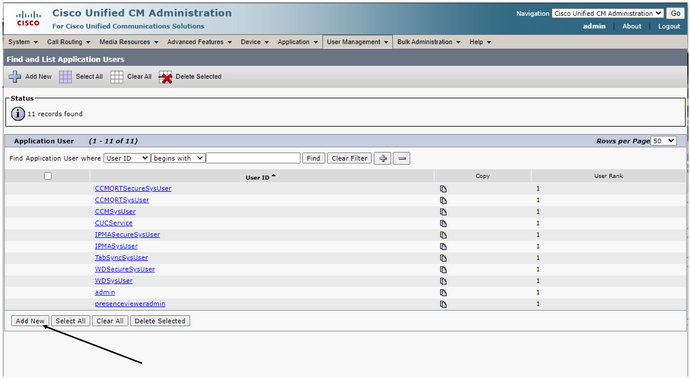
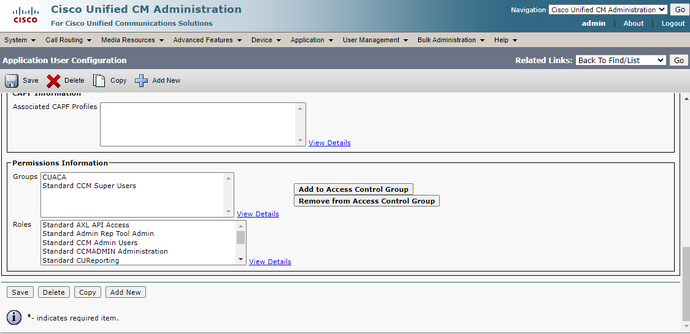
Step 12: Enter the user information into the correct fields and then scroll downwardly to Permissions Information and Click Add to Admission Control Group
Step 13: In the window that pops upward click the box next to our "CUACA" grouping and click the Add Selected button.
Echo this procedure and add the Standard CCM Super Users Group
Footstep 14: when you return to the first window check to ensure that the "CUACA" and the Standard CCM groups are in the window and so click Save.
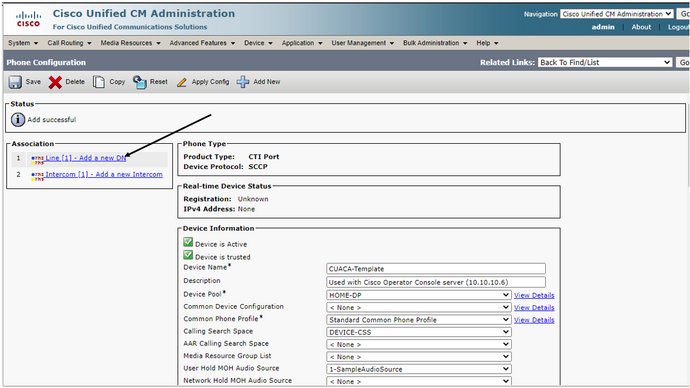
Create the telephone template [ ]
Step 1: Become to Device > Telephone
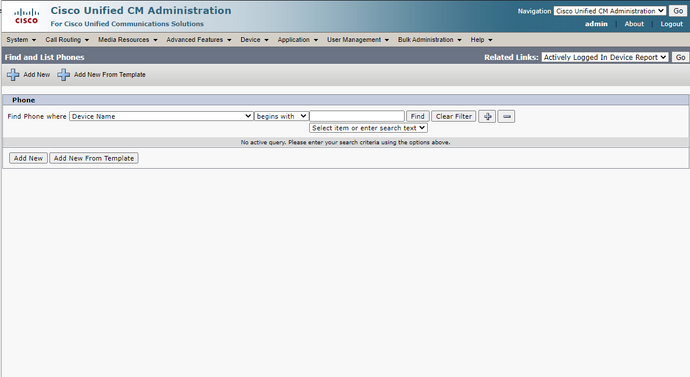
Step 2 Click add together new
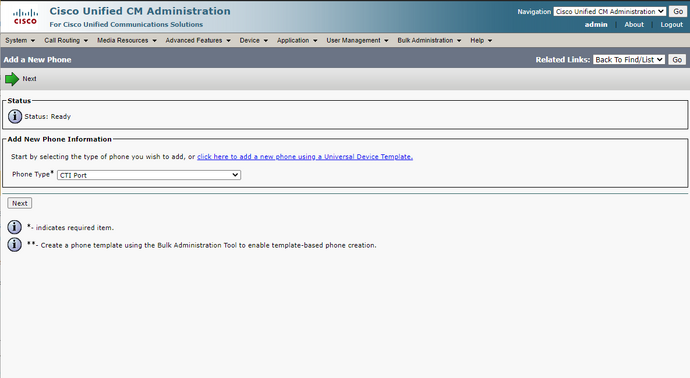
Stride 3 in this new window select CTI Port in phone blazon and click side by side
Step 4: Set the following Values and click Relieve
- Device Proper noun
- Clarification
- Device Pool
- Calling Search Space
- User MOH audio source
- Possessor - Set this to anonymous
- Device Security Contour
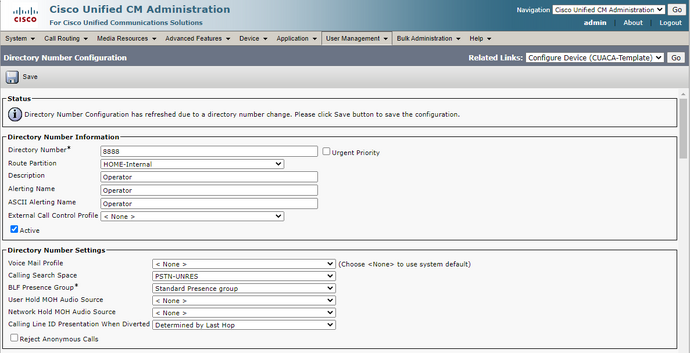
Step 5: Click on the line [1] - Add a new DN link on the left side of the page.
Pace 6: Add the appropriate data for a DN on your arrangement.
Install the software on the CUACA server (window 2012) [ ]
login to your CUACA server, in my network my server is at 10.10.10.6
Notation: you must accept Microsoft .NET Framework three.5 installed.
Install IIS [ ]
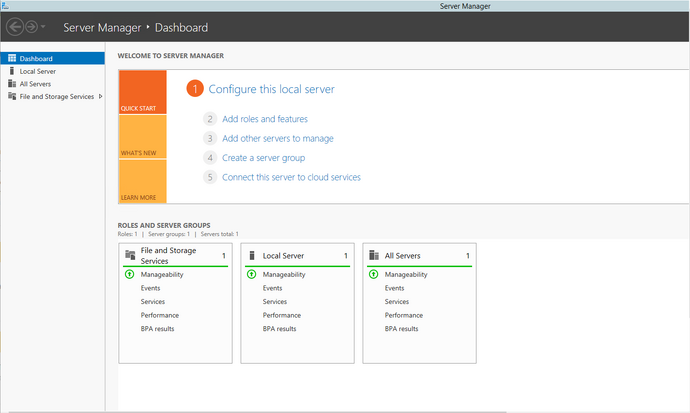
Footstep 1: Log into The server and open the server manager.
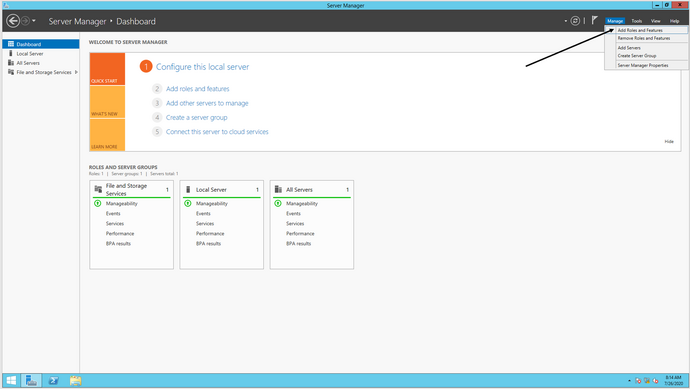
Footstep 2: Click manage and "Add together Roles and Features"
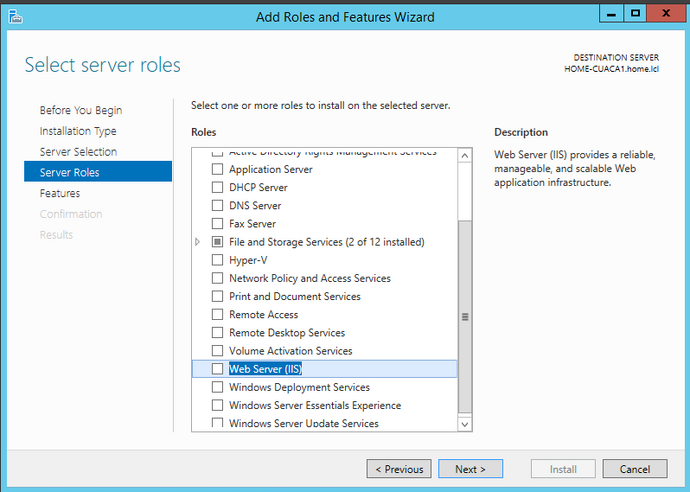
Stride 3: Click Next Three times
Step four: Scroll down and select "Web Server (IIS)"
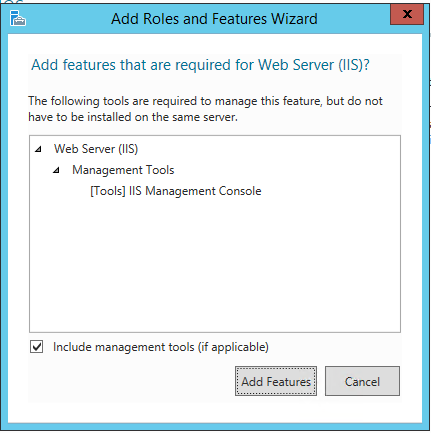
Step 5: in the window that pops up ensure that "Include Direction Tools (if applicable)" is checked, Click add Feature
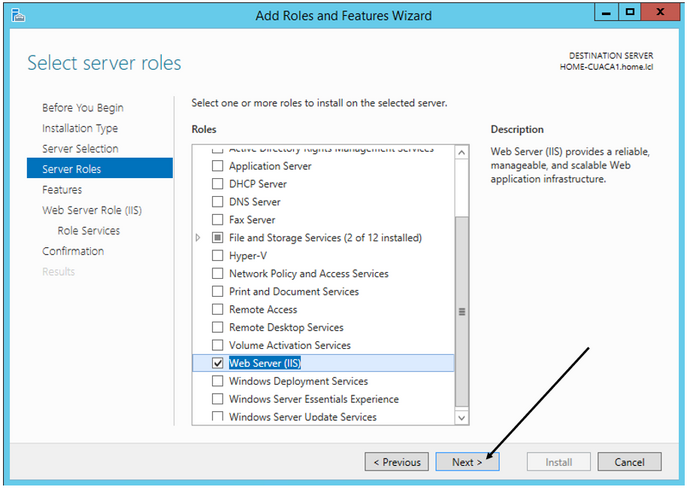
Stride 6: In the Add together Roles and Features Wizard Click next
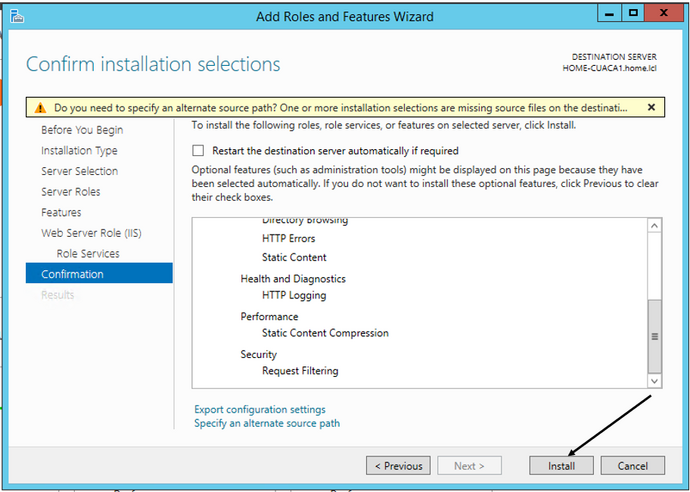
Step 7: Click adjacent three times
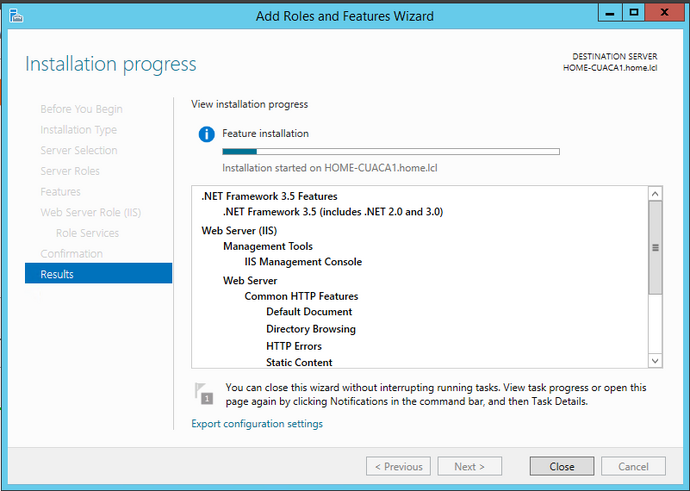
Step 8: in the concluding window click the "Install" push button
Step 9: the Installer will run
Install the software [ ]
Step 1: locate and launch your installation file.
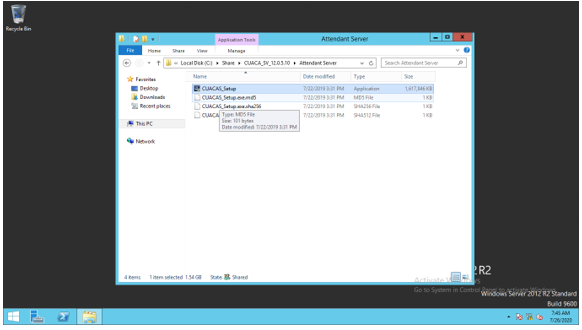
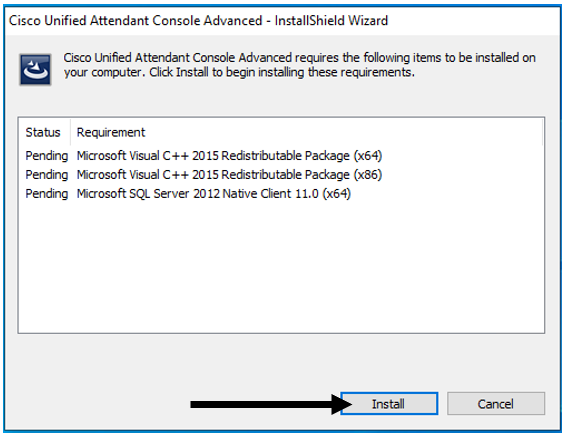
Step 2: When the first window opens click the install button
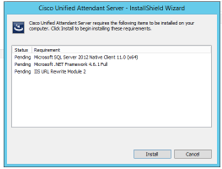
Step 3: when Prompted by the installer reboot the server
Step 4: After the reboot, you should only have one preinstall task left
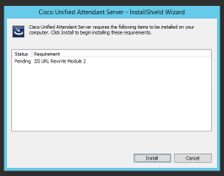
Step 5: After the last task the install begins
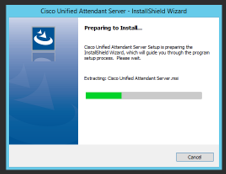
Footstep 6: Click next on the window that appears
[[File:CUACA integrate with CUCM 46.png|thumb|690x690px|alt=]
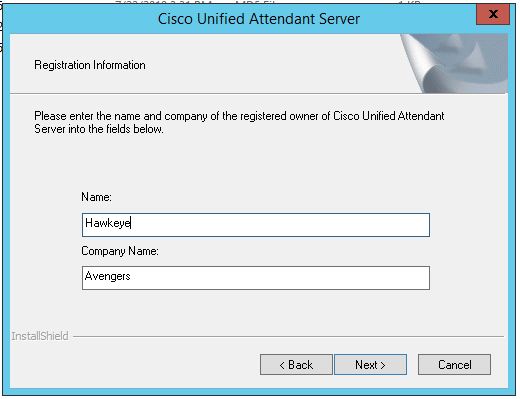
Step seven: In the next window enter the name and visitor that matches the license data and click next
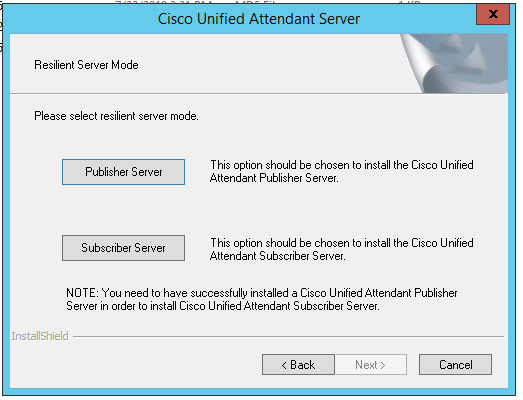
Step eight: In the next window click the appropriate button, in my network I volition only take i server so I am clicking the publisher server.
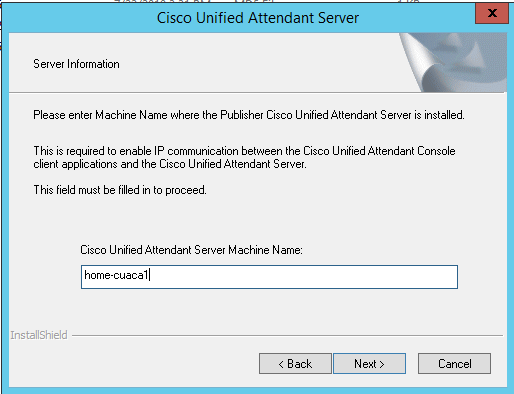
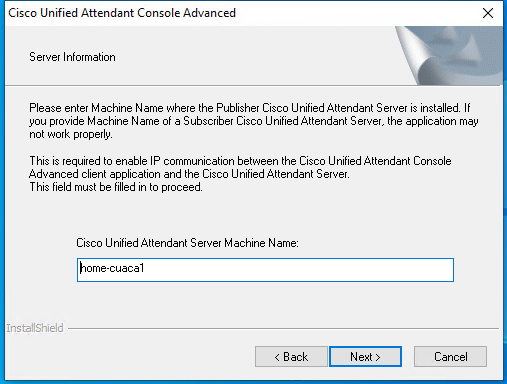
Pace 9: enter the proper hostname of the CUACA server, In my network it is Abode-cuaca1
Stride ten:in this next window enter the following information:
- IP Address (of the CUCM)
- IP port: 443
- CUCM Application User ID: this is the ID that nosotros set earlier in my case it is srvc-CUACA
- Countersign: this has to lucifer the password that was gear up upward before

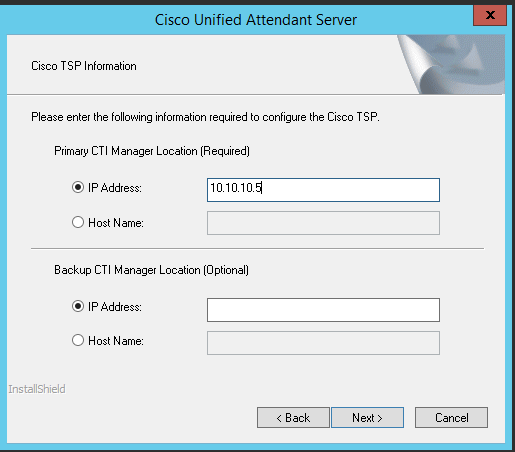
Footstep 11: In this next window enter the IP address or hostname of the CUCM server that is hosting the CTI Service.
Notation: Cisco does non recommend using the publisher server to provide this service, Cisco recommends using one or two subscriber servers of the cluster for this purpose
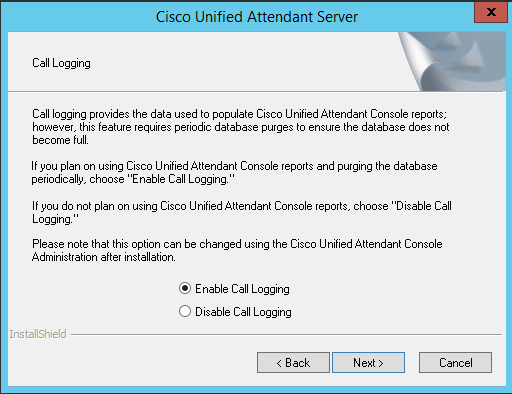
Step 12: in this side by side window select the Telephone call logging option that suits your organization's profile
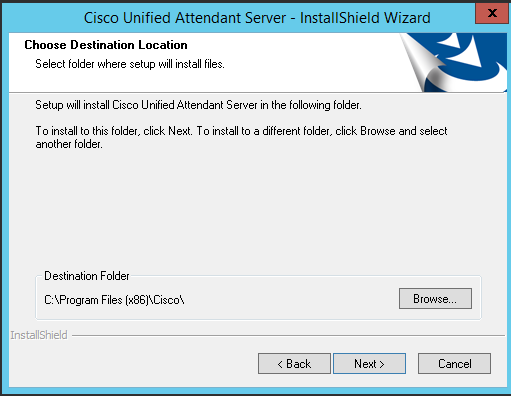
Step 13: in this next window click the next button
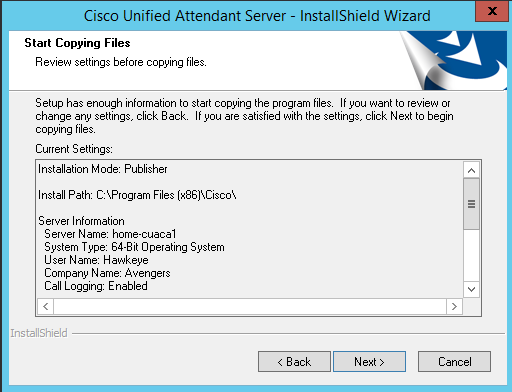
Step 14: in this next window click the next push
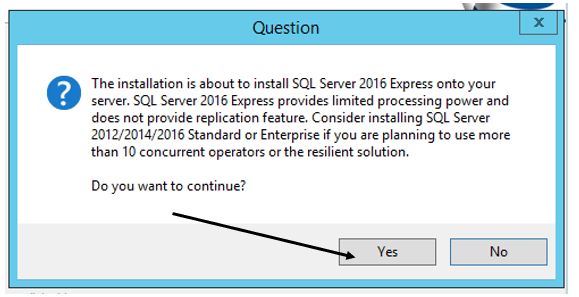
Step 15: when the "Question" bulletin box appears click yep
Stride sixteen: From here the SQL Server installation will begin

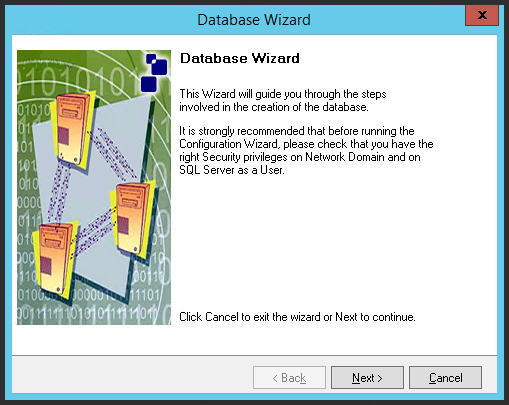
Step 17: Afterward the installation is complete the "Database Wizard" window will pop up, click next on this window
Footstep 18: The Automated Database wizard volition run, when it is done click finish
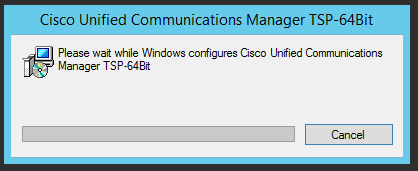
Footstep xix: After that, the TSP installer will brainstorm
Step 20: When the TSP installer is done you will be prompted to reboot the server.
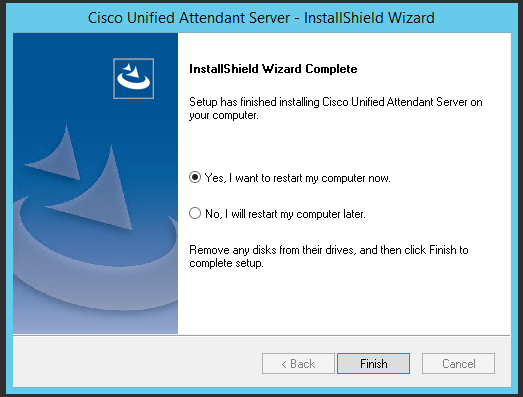
After the reboot, the auto-install will begin again after you lot log into the console server, this is a quick procedure and subsequently it is done the application install is completed.
Configure the CUACA Server [ ]
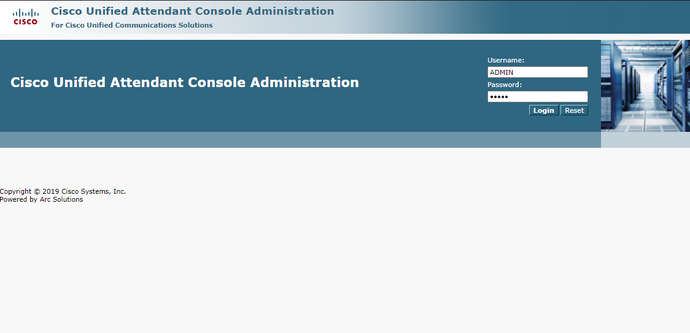
open a web browser to the IP address or FQDN of your CUACA server, sign into the page with the default credentials:
Instance: https://FQDN/WebAdmin/login.aspx
- Username: ADMIN
- password: CISCO
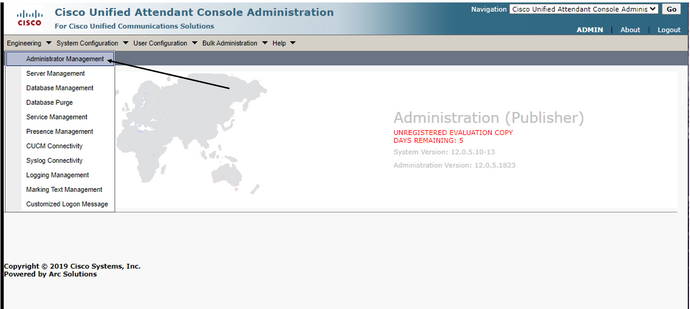
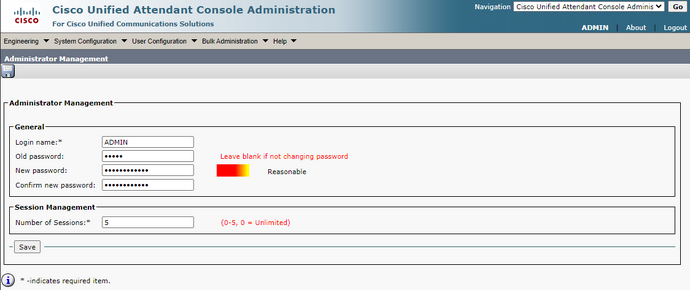
Step ane: First things start lets change that countersign, become to Applied science > Administrator Direction.
Step 2: Enter CISCO every bit the Onetime Password, and so enter the proper password in the New Password and Confirm New Password fields, and click salve.
Stride iii: Become to Engineering > Service Management and ensure that all of the services are running. we are looking for the phrase "Active - Server is active and fully operational"
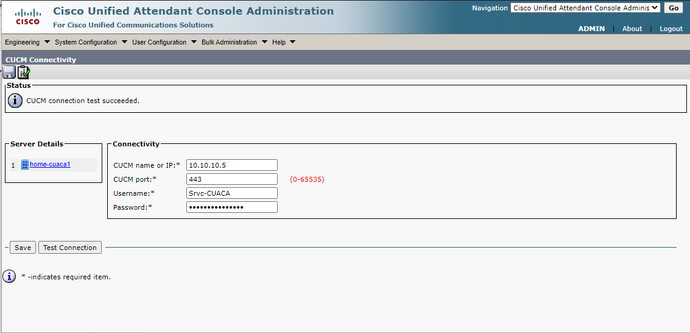
Step four: At present let's verify our connectivity to the CUCM, Go to Engineering science > CUCM Connectivity. In one case there click Exam Connection.
If everything is good-to-become you should receive the message "CUCM connectedness test succeeded"
Configure Operator Queues [ ]
Step one: Go to System Configuration > Queue Device Groups.

Footstep two: Click Add new
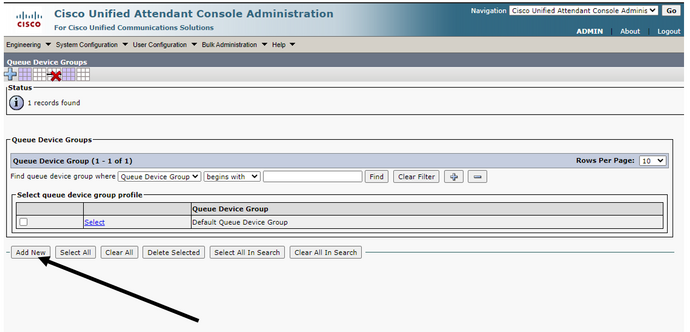
Step three: Enter a proper name for the Group and click salve
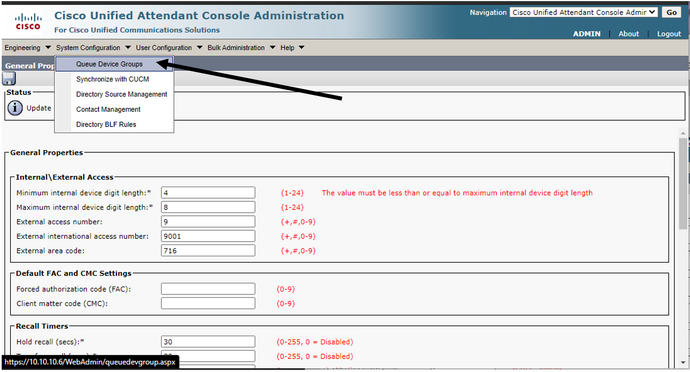
Stride iv: Go to User Configuration > General Backdrop
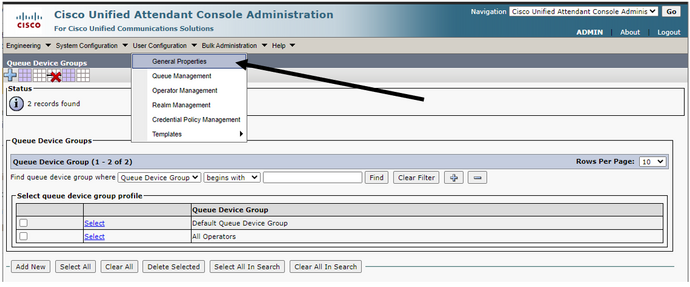
Step 5: Set the appropriate values in for your CUCM system on this page.
Configure CTI Devices [ ]
Step 1: Go to System Configuration > Queue Device Groups.
Footstep 2: Click Select side by side to your new queue
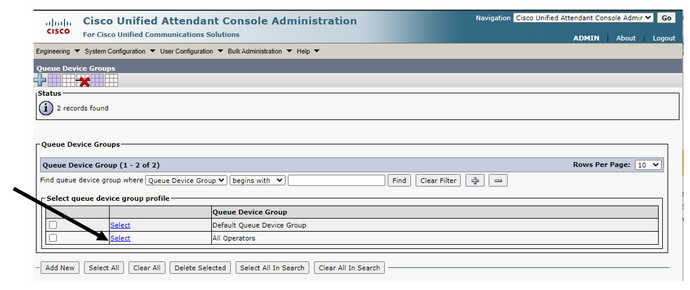
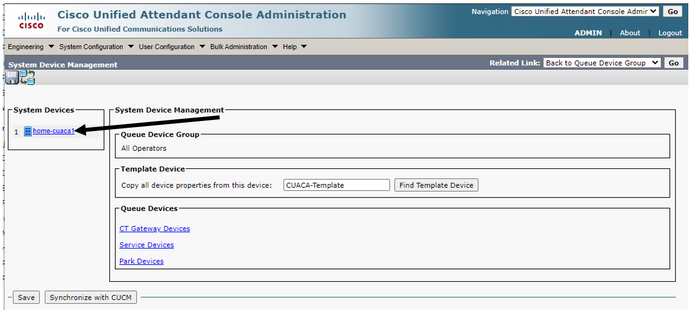
Stride iii: In this new window click on your CUACA Server.
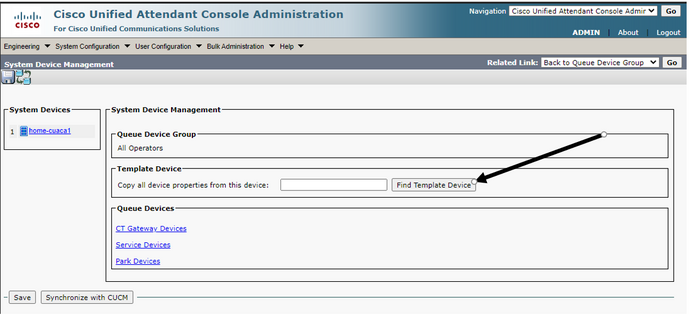
Footstep four: in this window Click notice to select the Template phone we created earlier
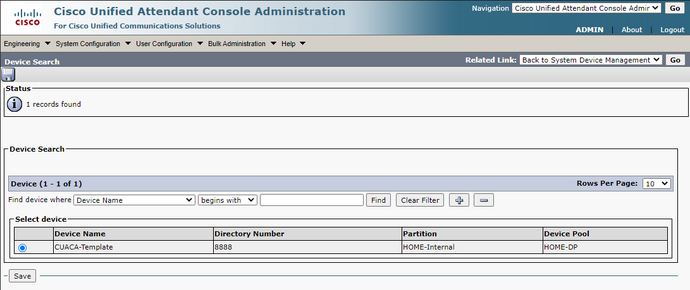
Step 5: in this window select your CUACA-Template phone and click salve. then click the Go push side by side to "Back to system device management"
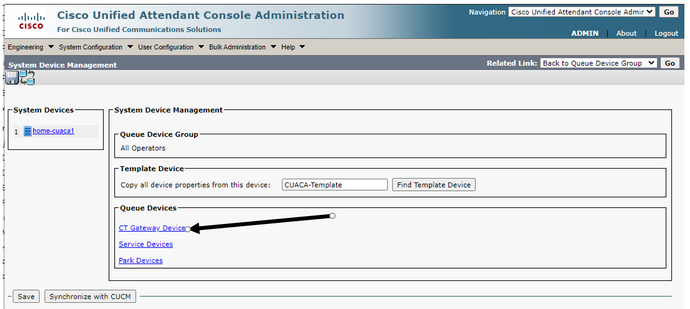
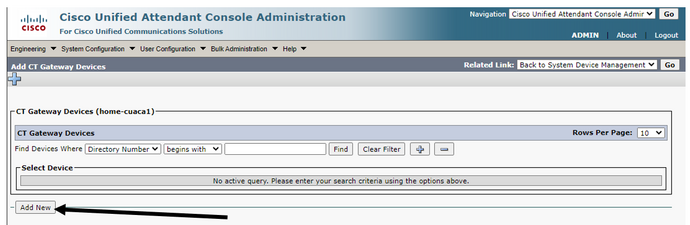
Step half-dozen: Nether Queue devices click CT Gateway Devices
Step 7: In this window, click Add New
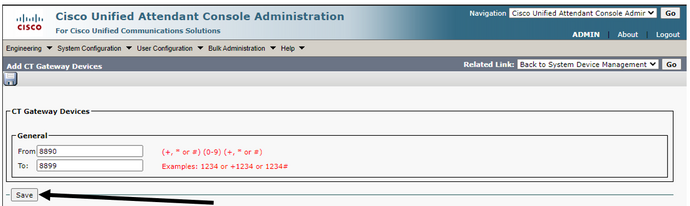
Step 8: In this window enter the DNs for CTI devices, there should exist 1 per operator phone, after that click Save.
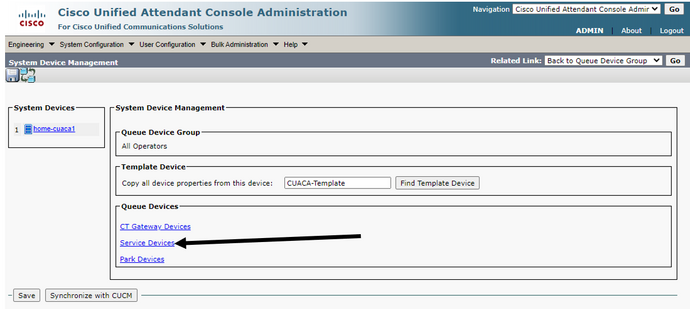
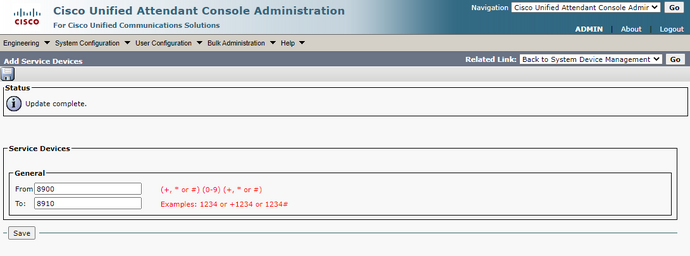
Step nine: Now allow's click on Service Devices
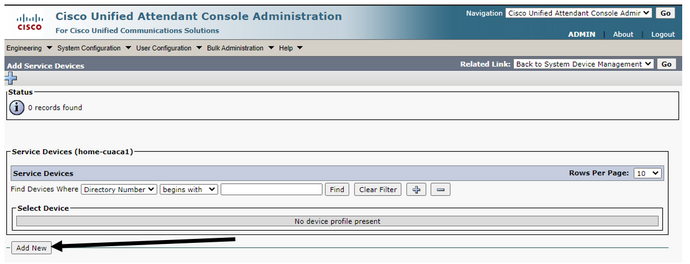
Step x: In this new window click the Add New button
Step eleven: Enter the outset and finish DN for the range and click relieve. once that is done click the Get Push next to "Back to Queue Device Group"
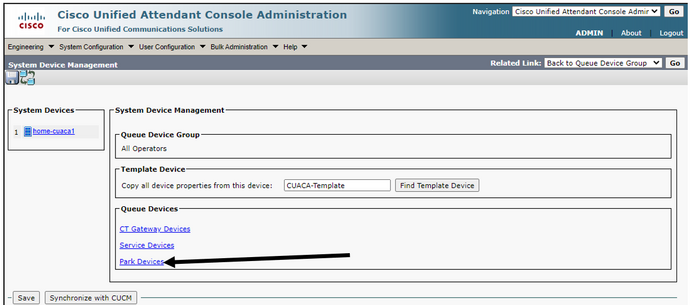
Step 12: When you get dorsum to this window click on the Park Devices link.
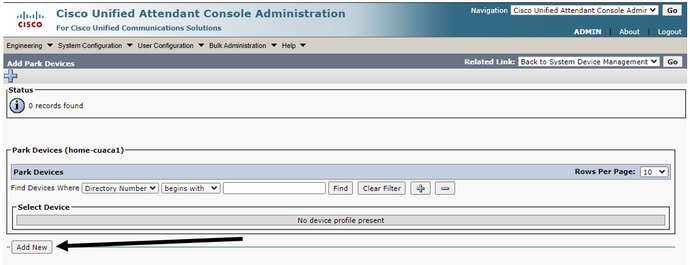
Step 13: In this window, click Add New button
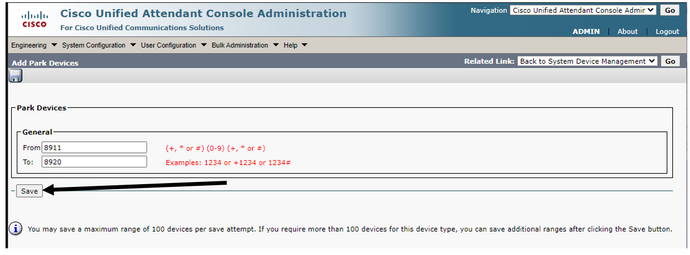
Step fourteen: Enter the DN range and click save in this window. so click the become button.
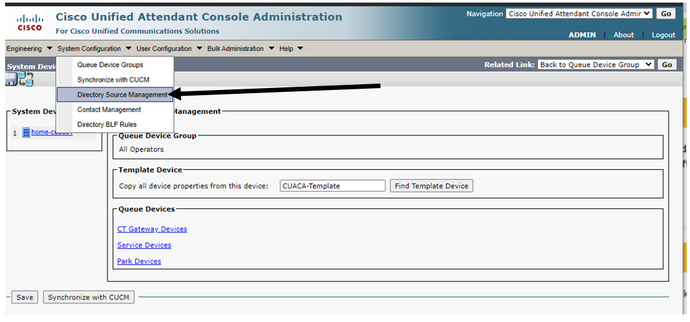
Configure Directory Synchronization [ ]
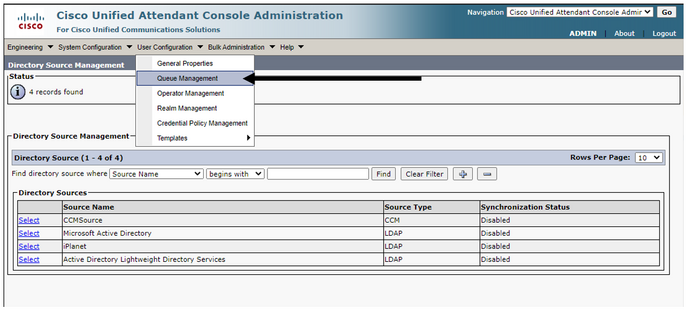
Step 1: Get to Arrangement Configuration > Directory Source Management
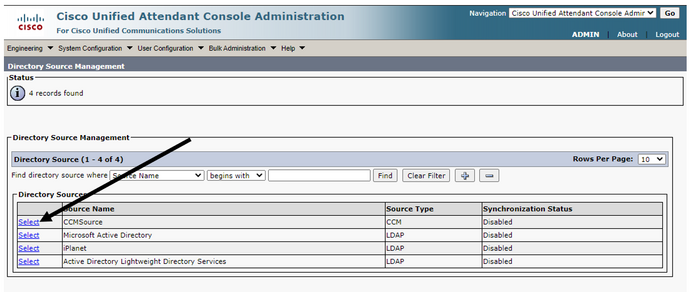
Step 2: In this window click the detect push button
Footstep 3: depending on how you are using your CUCM will depend on which directory you synchronize with. In my network, I will sync with the CUCM server. Click the "Select" link next to CCMSource
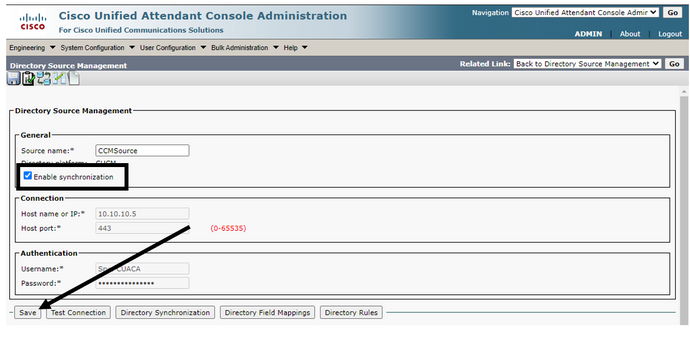
Step iv: In this new window ensure the Enable Synchronization box is checked so click save
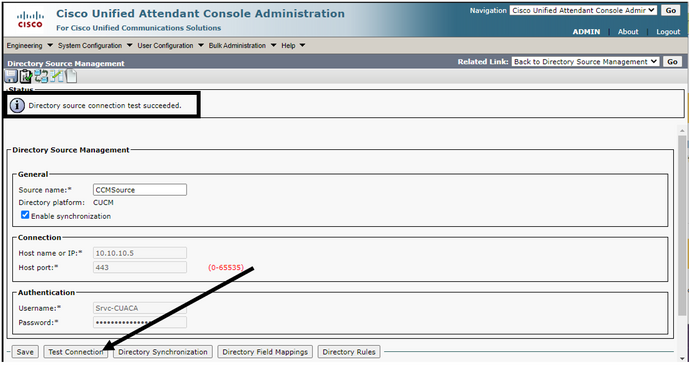
Step 5: Before we leave this window click the test connection button. if everything is good-to-go you should receive the message "Directory Source connectedness test succeeded."
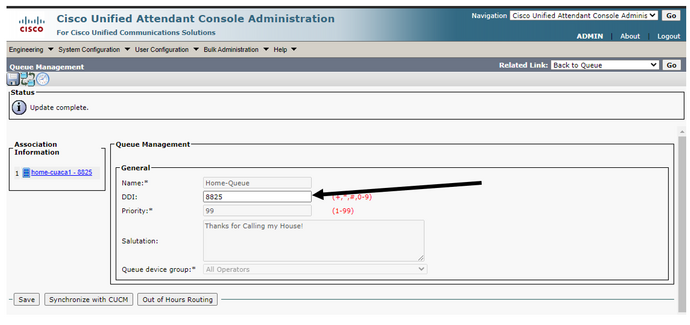
Setup Operator Queues [ ]
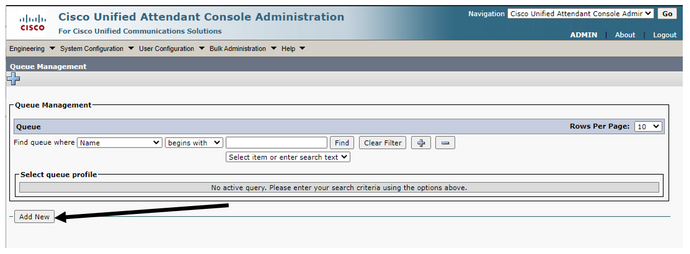
Step i: Become to User Configuration > Queue Management
Step ii: Click the Add New Push
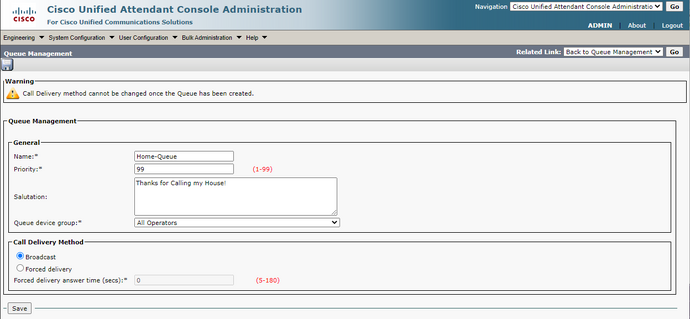
Stride iii: In this new window enter the following information, and click salve
- Name
- Priority
- Salutation
- Queue Device Group
- Set the phone call delivery method
Pace 4: After you relieve the record the clan information section will appear on the left-hand side click the "Add New DDI" link
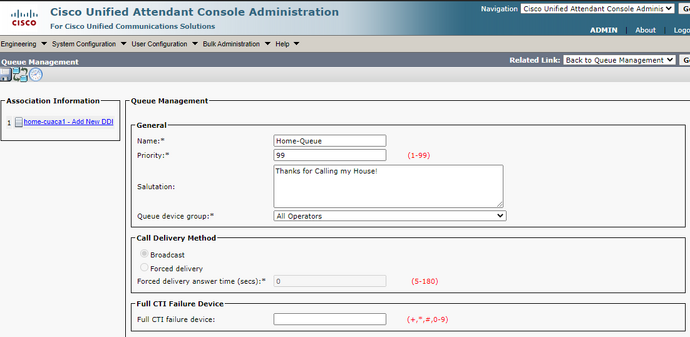
Step five: add a DDI into the box click save
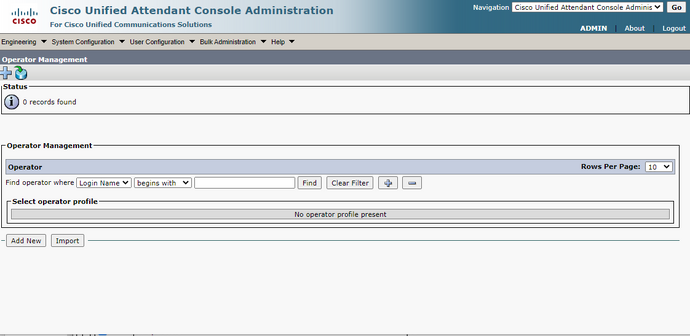
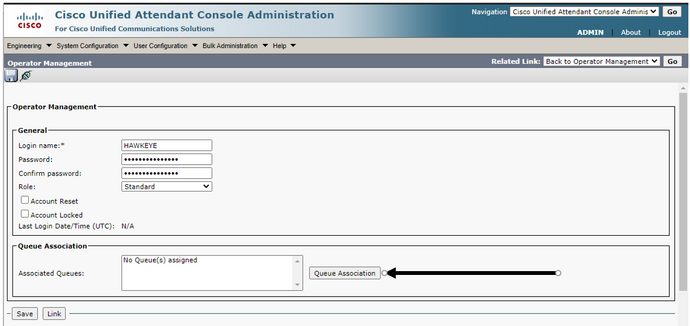
Set up Operators [ ]
Pace 1: Go to User Configuration > Operator Management
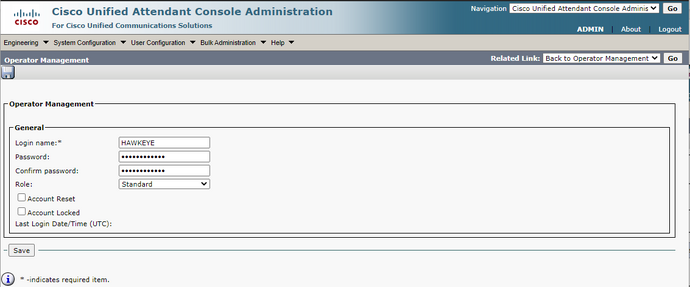
Step ii: In this new folio click add new
Step iii: Enter the Information beneath and click salvage
- Login Name
- Password
- Confirm Password
- Part - Standard
Step 4: After y'all save the operator the Queue Association section will announced. Click the Queue Association button
Step 5: In the new window click find, and all of the configured queues volition appear. Click the checkbox adjacent to the desired queues so click "Save Selected / Changes". And then click the go push button next to "Back to Operator"
Step 6 At present you lot should run into the queues, under your operators. if this is right click the save button at the bottom of the page.

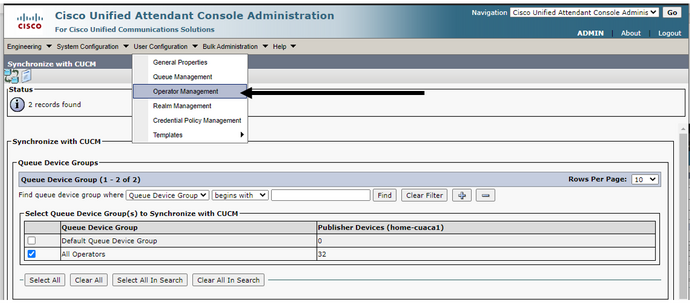
Synchronize with Cisco Unified Communications Manager [ ]
Step 1: Go to Organization Configuration > Synchronize with CUCM.
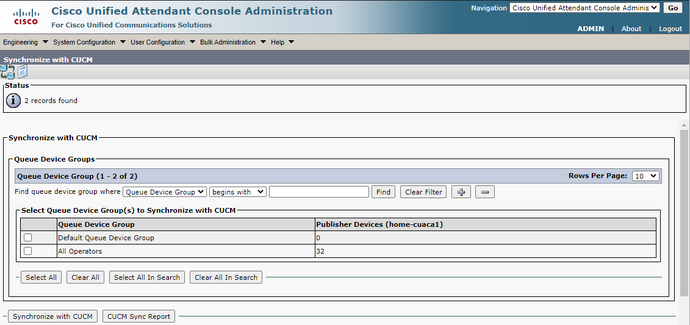
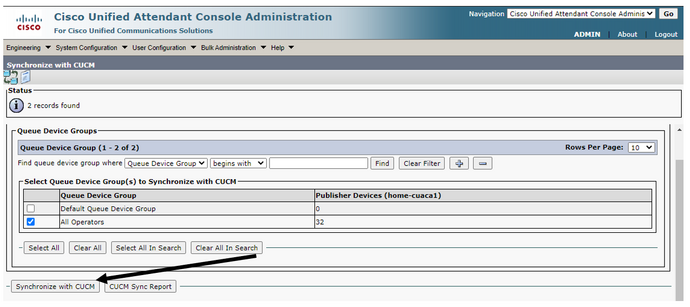
Step 2: Click the box side by side to your queues and then click synchronize with CUCM.
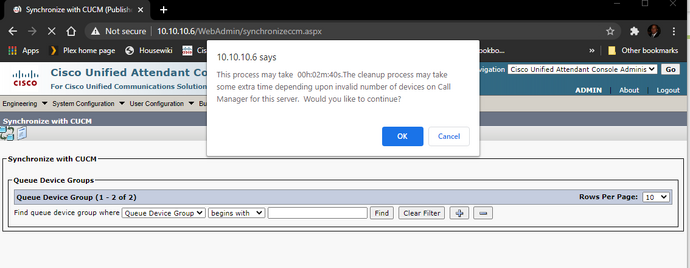
Step 3: you volition get an alert from the page that shows how much time the synch will take, click okay and the process will begin
Step 4: Click the CUCM Sync Written report to watch the CUACA server integrate with the CUCM.
Install customer console software on an operator computer [ ]
Step 1: In one case you go logged into your client computer browse to where you take saved your client software install file.
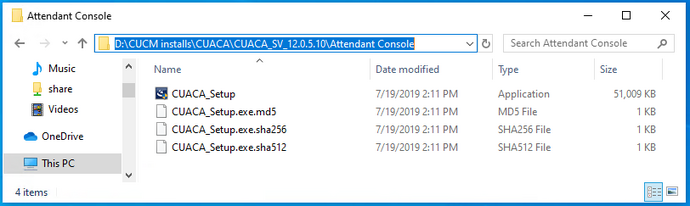
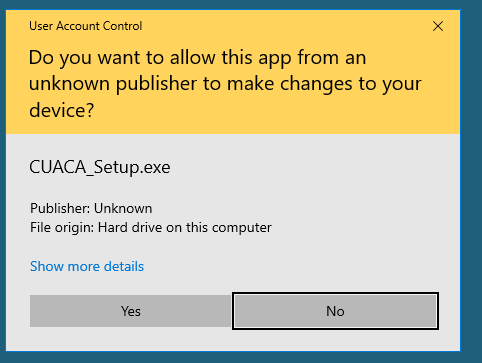
Step 2: Execute the CUACA_Setup.exe file, in the UAC box click yes
Step 3: in the InstallShield Wizard click install
Step 4: Click Side by side 2 times accepting the defaults
Step 5: In the server data section enter the hostname of your CUACA server and click adjacent
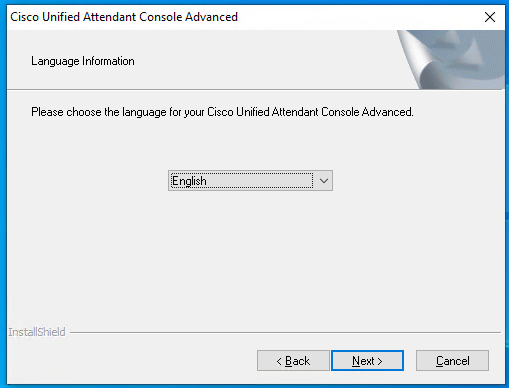
Step 6: Select the desired language in the adjacent window
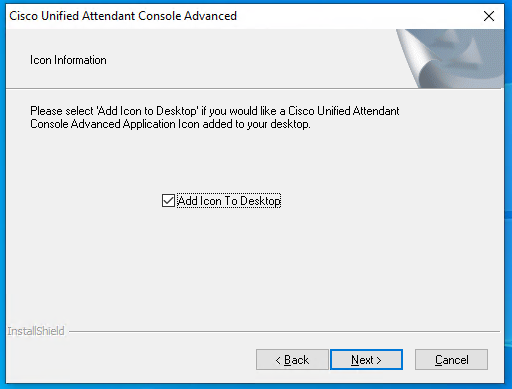
Stride 7: If y'all want to select the "Add Icon to Desktop" checkbox and click next
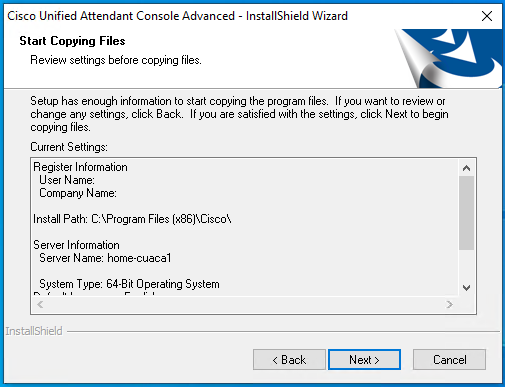
Stride viii: Click next again
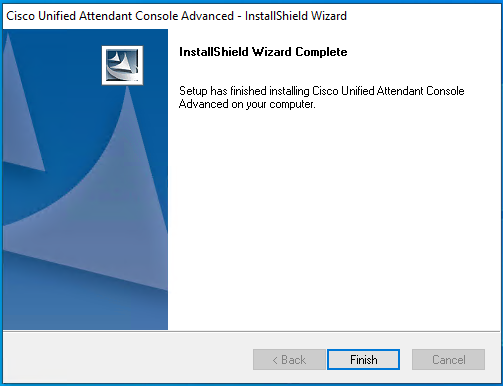
Stride 9: Click Finish

Source: https://telephonynetworking.fandom.com/wiki/CUACA_Setup_Cisco_Attendant_Server
Posted by: parkthynand69.blogspot.com
0 Response to "How Can I Change Which Cisco Ucm Servrr A Device Registers With"
Post a Comment